


If you are like me you are a father and a husband as well as one who has a job and can often work long hours. With all this involved it can be difficult to find time for hobbies and even more so to find ones that you can do inside the house. I love to tinker and work on things from lawn mowers to cars to the finding out why my childs toy he loves stops making the sounds and lights even when I check the batteries.
If this sound at all like me then you are going to love these model kits that I can only best describe as models for people who love to tinker. The box came and at first look it seemed like so many others that I have seen before.

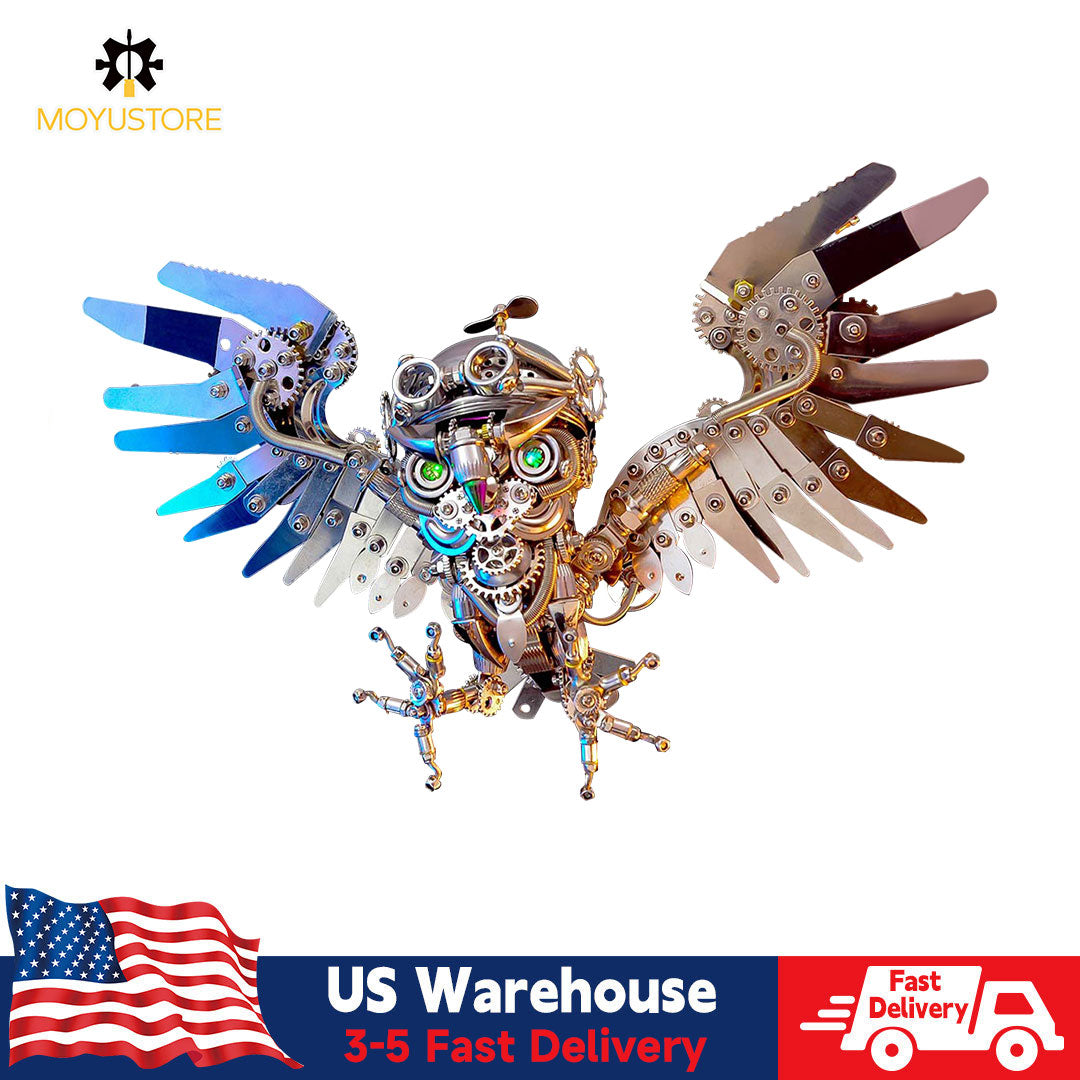
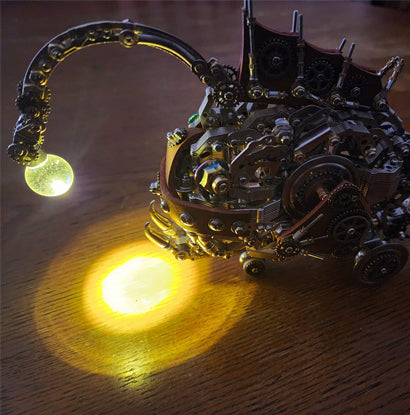
Just a black box and a light becuse I got the wasp that was on a claw looking thing holding a galaxy. I saw this one online and thought to my self why not if i dont like it I can at least have one that I tried and see if it works for me. The options they give for you are a few with having everything from the galaxy to the moon style globe. I decided to give this one a try and was very happy with the end result.
Well Im not going to spoil that for you just yet I wanted to give an honest assessment of the process of building this model and what to expect hoping that you will have a better understanding of what is entailed and what to expect.

For this model I would give it a 2 on the scale of a 1-5 difficulty and it is about a 6-7 hour build i was able to make it in a weekends of time.
When you first open the box you will see the directions and please can not stress this enough read and follow the directions. If you dont you may very well end up with a mess on your hands. I would also recommend that you get a container for all the pieces that you have due to the size it can can be very easy to loose some of the nuts and bolts.

In the box you will have tools that you will use and also have numbered bags that will correspond the the numbers on the directions. Another tip only use what is needed from each bag and do not dump all the bags out. Some on the parts look so much alike that if you did this you will be lost and have a very hard time. One on the amazing parts on this build was to look at the amount of small pieces all spread about and realize that at the end of this I was going to have something that was a reconizable image of a creature. So cool.

Wanted to sho what the image of the container I used looked like. This is just a foam container that held some other stuff from the Amazon purchases that my wife makes almost every week. You can use a box or a drawer or even some craft store have containers that you can use that have lids on them so if it gets knocked off a table your parts dont go every were, but again keep it in the baggies.

As you can see the directions will explain what baggies to use and how to put them together. I found it easier to pull what I needed for each part of the build and lay it out so that I could use just the parts needed. If you find it easier for you to pull each part out and build slowly then that would work as well also. On the top of the image you can see that I pulled all the bags i would need to do this part of the build and layed them out so it was easiest to see what I needed and then pull form the bag.

This is the same part of the build but I started to realize that I could pull the parts I needed. In this part of the model I needed to have 5 of this parts built that I realized later would be legs and so I started to pull groups of parts every time that this was required on the build. This model had a few times were you are required to have multiple of the same thing built and I started to use this process as these situations started to arise.

At about this part I started to worry that this was not going to come out well. It looked odd to me and I felt as if I did something wrong. I can tell you that this will happen and it is completely normal. I went back over the directions just to make sure that I was building this the right way. One piece of advice that I can give is that you look at the images on the instructions and make sure that they are all facing the right way. I also had to move one of the legs around due to finding out that I did not have them all facing the same direction. Im not sure if this would have caused an issue but I feel it is always better to make sure that they are all going the same direction just in case. The last thing you want to do is get really far into this and find out you have to take parts off so you can fix an issue that could have been done early on.

This is about were things start to get interesting. When I got to this part of the build I sarted to see a face and it started to look like something that I could reconize. For this part of the build I would say pay attention to the atteni and the eyes for the nuts on this part are hard to get tightened and this may cause some issues. Take your time and make sure that you are puting each part on and then when you have the base built to tighten everything so that it will not move around befor you move on the the next part of the build you are working on. On the side of the wasp you will see the screws that are in the wooden peice as well as the gears that are on top of the model. If is important to use a small drill bit if you have one. A dremil is a great thing to use and can save a bunch of time. I tried just using the screw drive like it says to do and it was to hard to get into the wood.

The next part I found was important to talk about on this build was the wings on the wasp. This for me had to be the most frustrating part of the whole build. The reason for this was that the nuts are so small and the screws are hard to grab. I had to use the tweezers and this part is not very big but getting the parts to work together I think took the most amount of time. You will layer the wings and then feed to screws into the holes of the wings then into the gear. I would do this part first and you may need to lay the whole part down on the table to be able to get the nuts on. Again I would tighten this but not over tighten were you end up damaging the wings. Its just enough to make sure that the wings are going to stay were you need them and not move around a bunch.
The body at this part will mostly be built. Also on the image above you can see the small led lights that are attached to the side of the wasp. I would check to make sure that these come on before you put them on the body. The batteries that I had in one was bad so it made if very difficult to take it off later and get the battery put back in and then rebuild the model. If you check the batteries before this then it will save you a tone of time and frustrations later.

Here is were the Wasp was built and you can see the sides were the rubber tube is coming off of the sies and going into the head. On the gears on the side of the body you will want to move this around a little due to the wings build and the gears on top are all part of the same build area. This area may give you some trouble to get it all together in a way that does not make puting the nut on the bottom of the wasp and getting it to pull everything together tightly.

The Arm build was the last part to build and this one takes some time due to all the parts that you will have to have to put together that are all the same. Remember to put in the black bracers between the two metal peices due to it adds the extra stability needed for this to hold its shape and the weight of the globe and wasp components.
For the last part I wante to show what the project looks like when it is all done and complete. I have to say It was so much fun to build and my kids love the way it looks. It is also a great talking point for friends that come over to visit and look at it only to realize that it is not just a solid piece, but that all the parts were put together to get the final product. I now have gift ideas for alot of my friends that are looking for indoor hobbies on the not so nice days and I have to tell you it is well worth the mony. The product is in very good shape and makes for a great lamp on my entertainment center or could be put on my kids dresser so they can have it as a night light when they get up in the middle of the night for a snack.

I hope that you enjoy building this or giving this model as a gift. I know that I have had a wonderful time building this model and look forward to the next ones that I build in the future. Remember my friends to tinker on and cant wait for the next model to work on so I can showcase what that looks like.
Steven Alexander