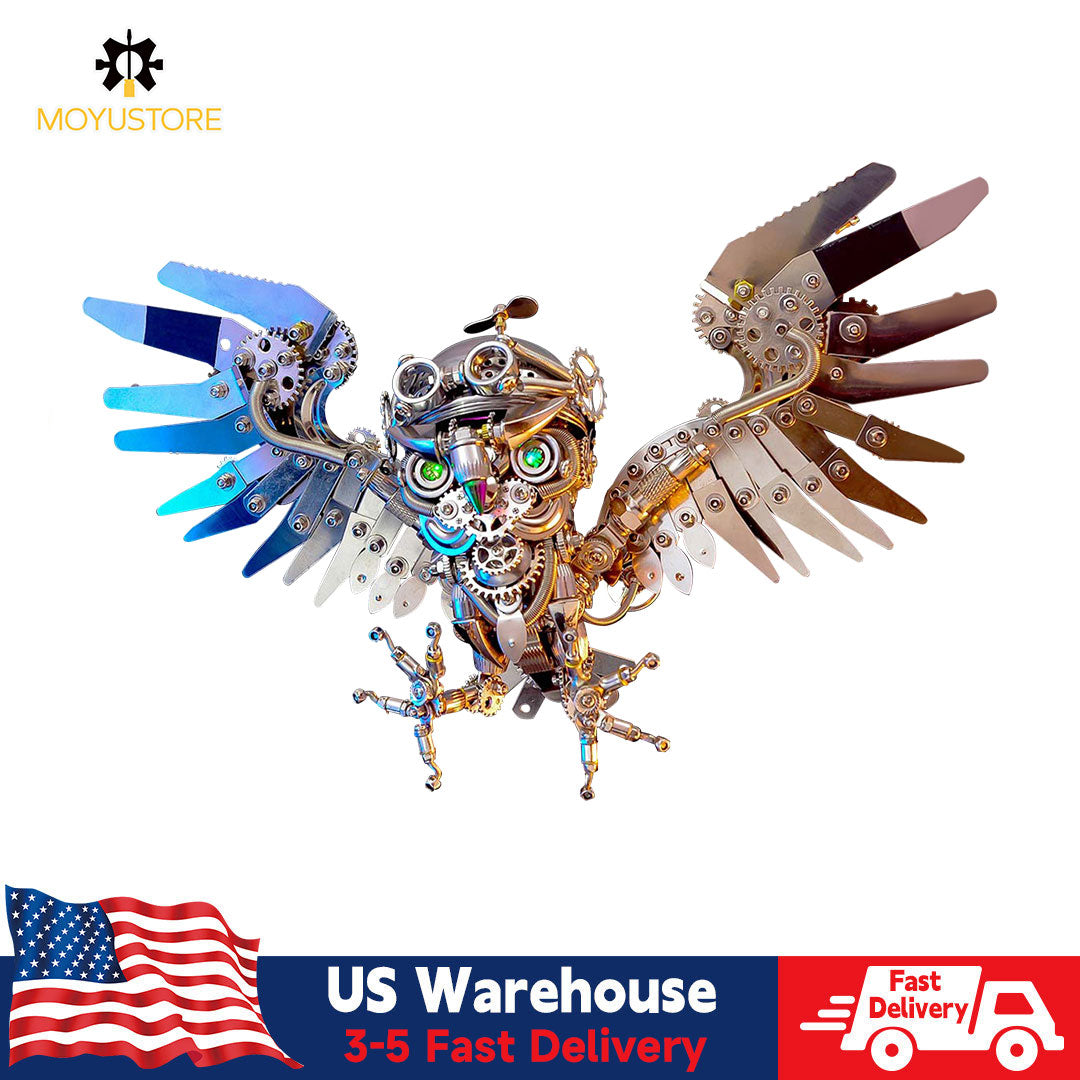


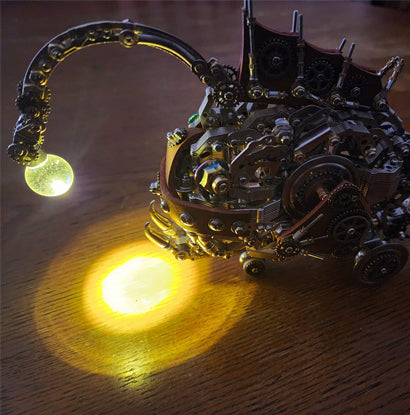


Introduction
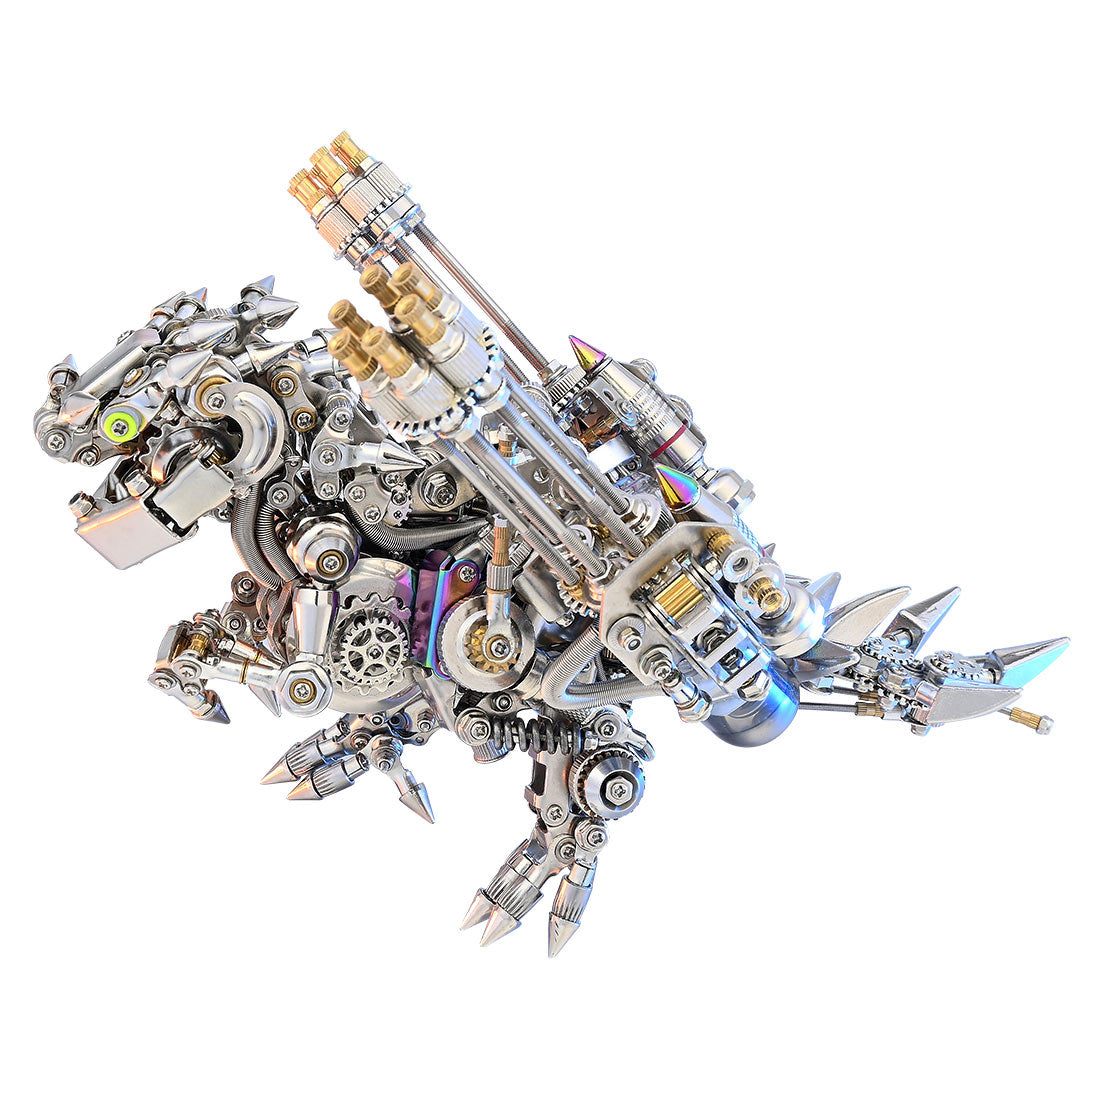
This is the Review of the T-rex build that I got from a great company called, Moyu Store. The first thing that I noticed about this when I first got it to build the t-rex is the quality of the product that you get in the box. The metal is not a cheap thin type of metal but a thick steel that is durable and would make a build like this last a long time. I will go over what I experienced when building this project and give you some pointers when building to help with issues that I ran into to help you with the build of your own. You will also want to make sure that you have a pair of tweezers and a bar of soap or some wax on hand. This will come in handy later.
The difficulty of Build: 2 of 5. Time 1.5-2 Hours
First Steps
Whenever I start a project like this I like to first look over what I am working with and try to get a game plan of what it will entail and what to expect. So I got the box and right away I could tell that this was different than other builds I have done in the past. The box was of high quality and even the logo was a foil overlay on the box. I was impressed before I even opened the box.

Once the box is opened it just gets better.
So I opened the box and tried to get an idea of what I am working with and I saw the familiar bags of screws and nuts I have worked with many times in the past. The major difference was the way that the parts are laid out and the cool-looking plastic covers that are also in the box.

I'm just like yeah this is going to look awesome. The way that they have multiple colors of metal that are to go together is such a cool idea and I think will make the build look very nice. So I start to look at the cardboard pieces that have the metal cutouts on them. One thing that is very important to note is that you will need to make sure you leave the parts where they are until needed. Second is that if you see the letters and numbers near each piece it is for 2 parts, not just one.

In the images, you can already see that the metal parts are thicker and that this build is going to be heavy and very durable. Now there will be some parts in this build that are a little difficult and I will try and help explain how to get around some of these tougher areas for you.

The first part is the head part of the build and it is not too hard to figure this part out. Just make sure that when you are looking for the part most of the bags that have screws and spacers will have different sizes. Make sure that you are checking to make sure of the size or spacer before trying to put it on the build this will save you time so you don't put the wrong piece on the build.
From here we are finishing up the lower jaw of the head and already I am excited about what this will look like when it is done. I think that it is about 1.5 inches thick at this point and already has some real weight to it. Very cool with the head having that red plastic overlay on it it looks really cool. The body part will slide between the gap that is in the lower head part and then it gets bolted into place.

The next part that is to be put together is the tail section. This part can be a little tricky. The scale pieces that are on the side are held together by the smaller metal piece that slides into them to hold them in place on each side. I found if you get one side on and then make sure everything is straight and in place the other side will go in easier. You will want to make sure that the holes on the end of the tail are aligned so that you can see from one side to the other. This will help with making sure they are aligned and can get connected to the body later.

I wanted to show some of the complexities of the build. Here I am working on the leg part and I find it easier to get the parts pulled out and in order so I know where they are and I don't have to try and pull them out of bags while I am trying to build the part. I find that if you get everything laid out it will make it easier for you.

Here is the first leg part built. In this part, you will have spacers that you have to put in between some of the metal parts. This is where you can use soap or wax. You will want to rub the end of the spacer on the wax or soap and then place it on the part where it is expected to go. This will help with the piece sliding off or getting dropped when trying to build it. The other part of this that can get confusing is to make sure you watch the arrows and if they are going through a hole in a part or if they are going around the part. I had to do a few dry build a few times to make sure I have the build set up the right way.
Remember there is nothing wrong with doing a dry build with out spacers just to make sure you are building it the right way.

This is where things start to get a little confusing. Once you get to this part of the build you will need to make sure that the gold extended nuts that you put on are in the right place and that you have the correct ones. On this part of the build, one of these gold nuts is longer than the others and you will need to make sure that you have it in the correct location.

Ok at this part I wanted to show what it looked like with the red back piece in place. I needed clarification on how to get this piece on but I found out what needed to be done. So you will slide the plastic piece over the nuts that hold the pieces together and then you will align it along the spine. Once that part is done you will then add the larger outer body parts to it. If you try to put the body parts on first and then add the plastic part on it will not go on and will get frustrating.


This is the view after the other metal part is put on and it shows how the plastic back part should look like when it is put on properly. It does take a little manipulation to get it on and aligned correctly but it is possible to get this part on.
Ok now it is going to get more complicated this is the last part of the build and it can get very hard on this part. I dropped the spacers and had the model come apart about 4 times before I figured out a few ways to make this a little easier. First is to use soap or wax to hold the spacers where you want them. You are going to have about 4 or 5 different ones that you will have to keep track of as well as try to get the model put together. It will be best to lay it flat and use the tweezers to get the spacers in where they need to go then lightly tighten the screws just to hold the body together. Once this is done just go around making sure everything is tight and you are all done and ready to go.