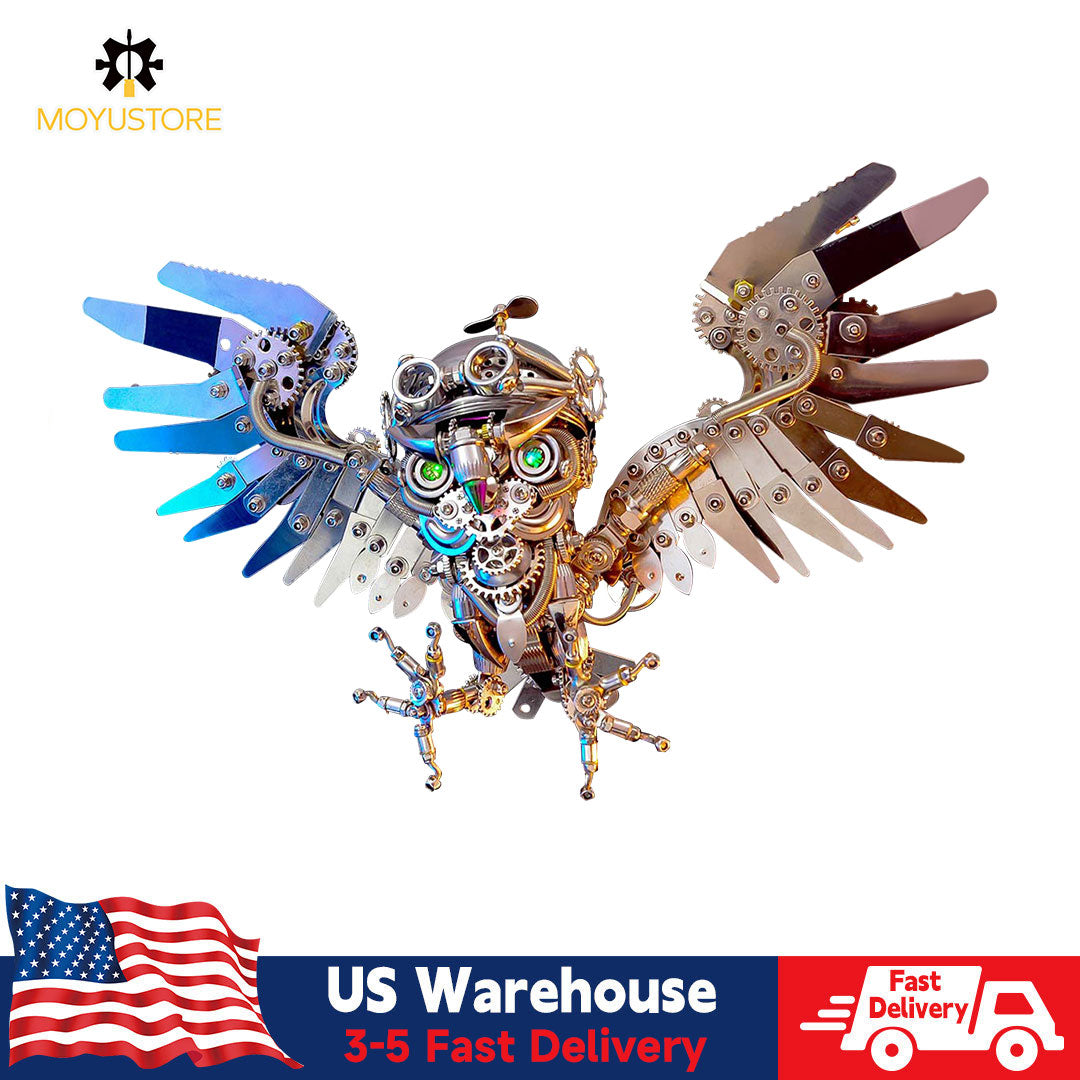
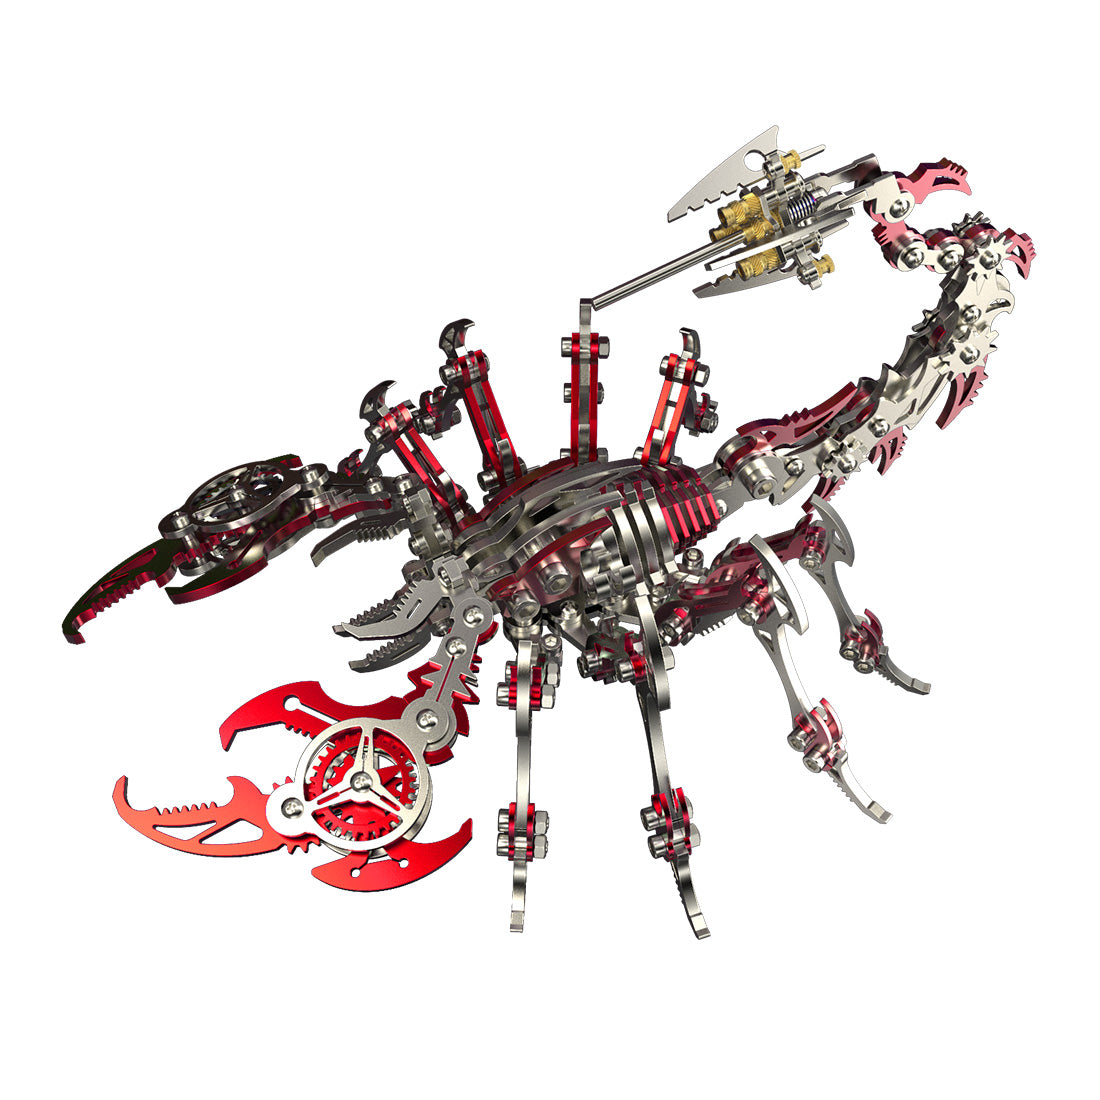
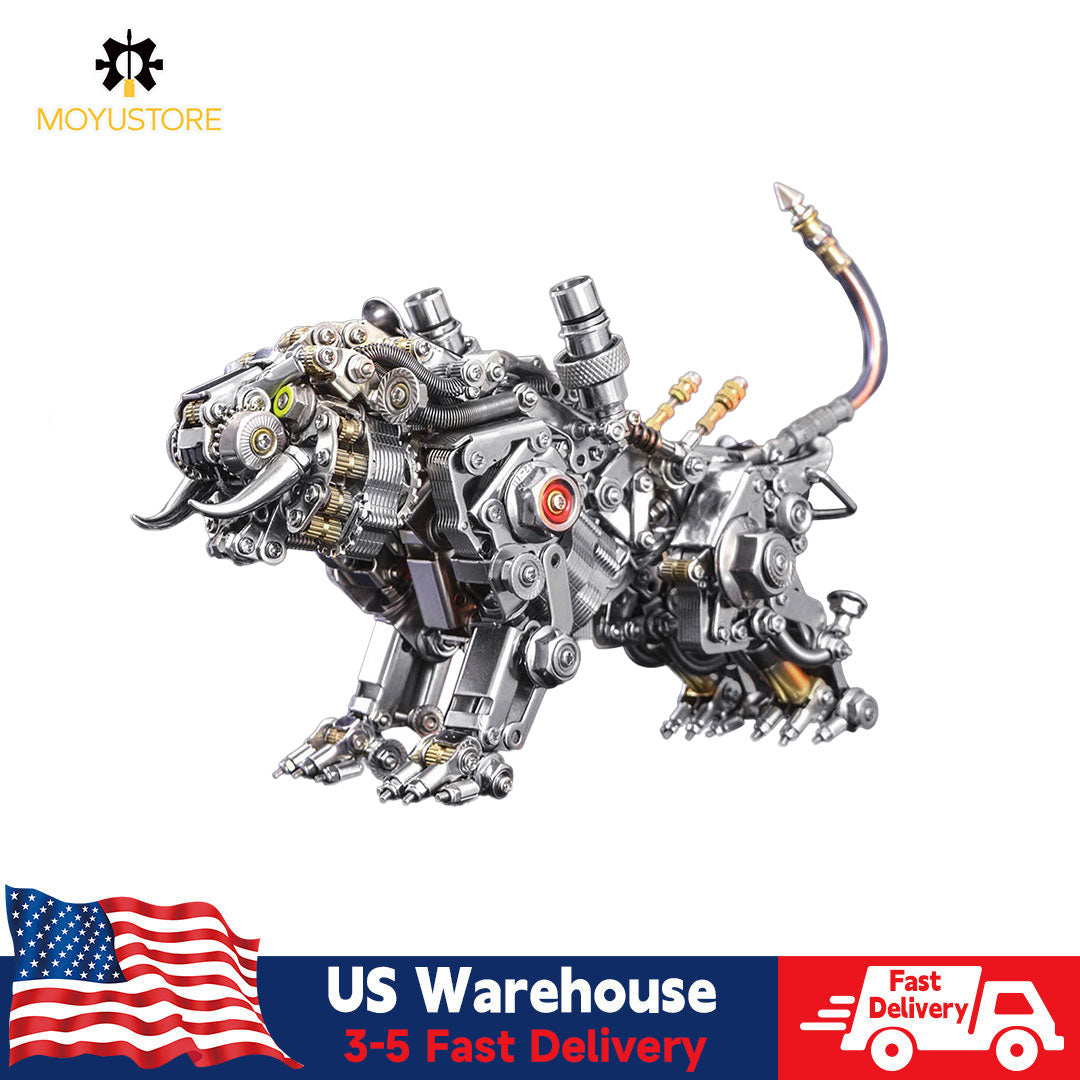
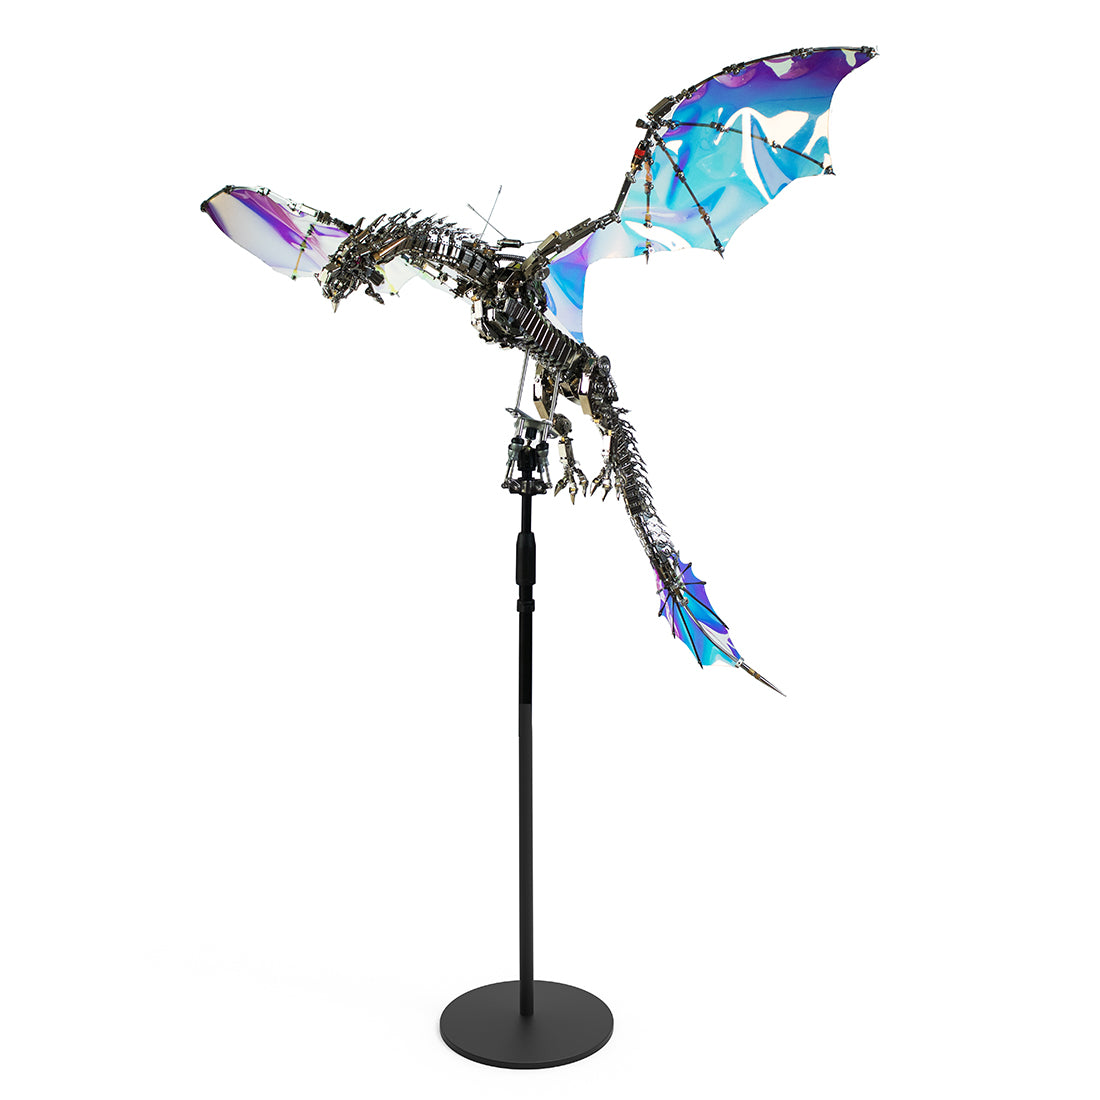
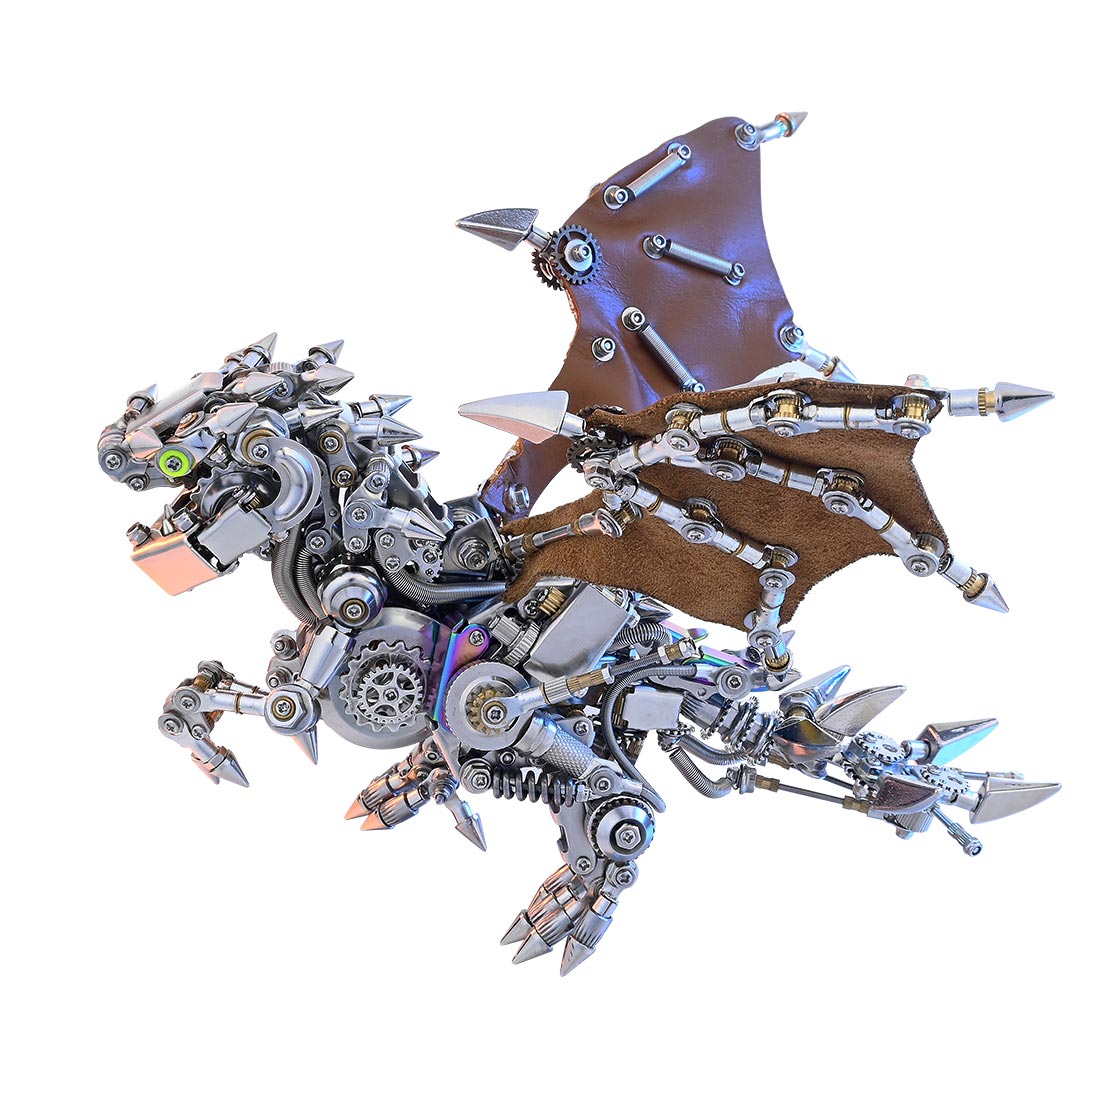
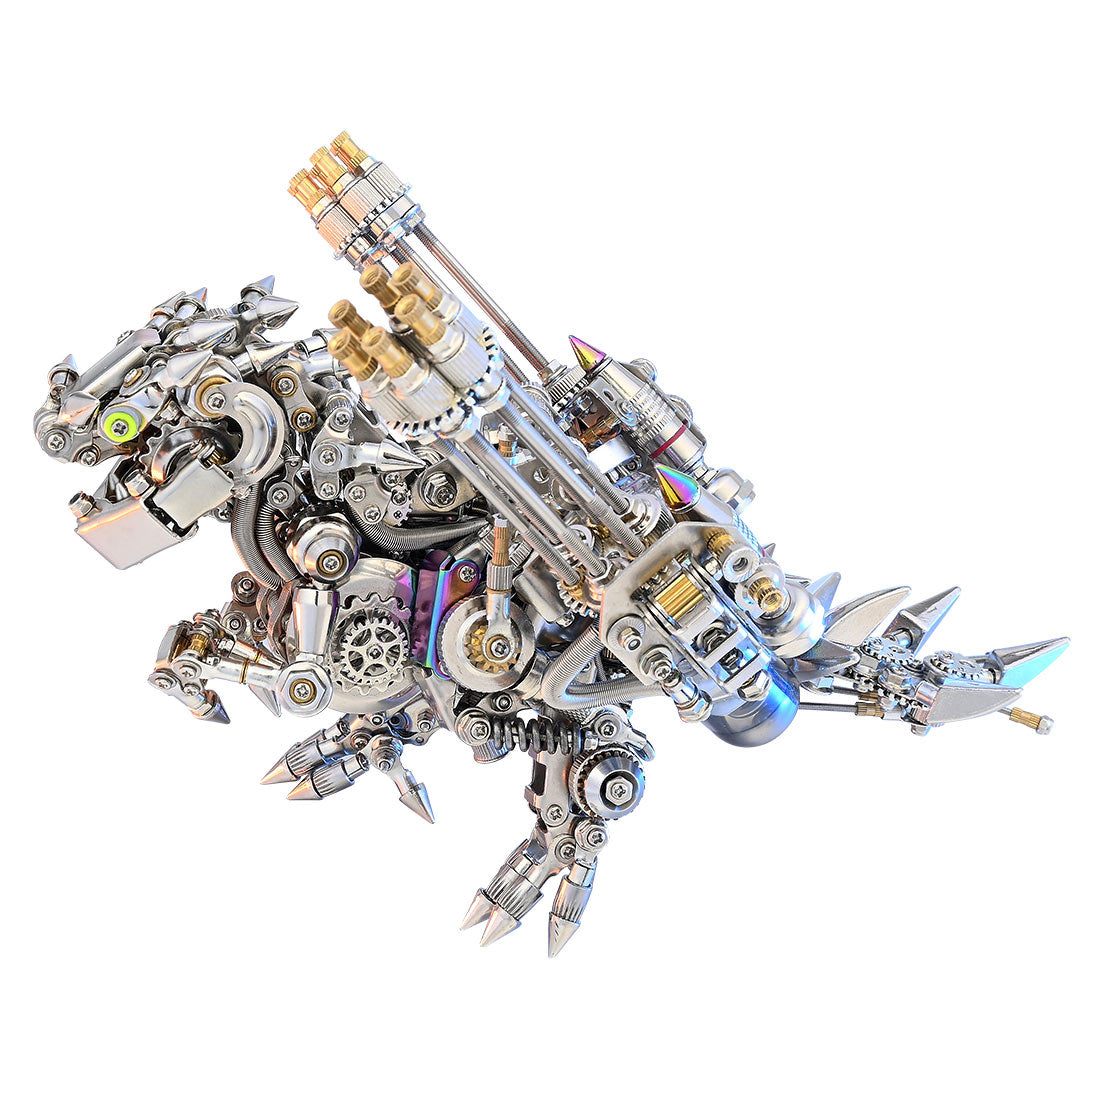
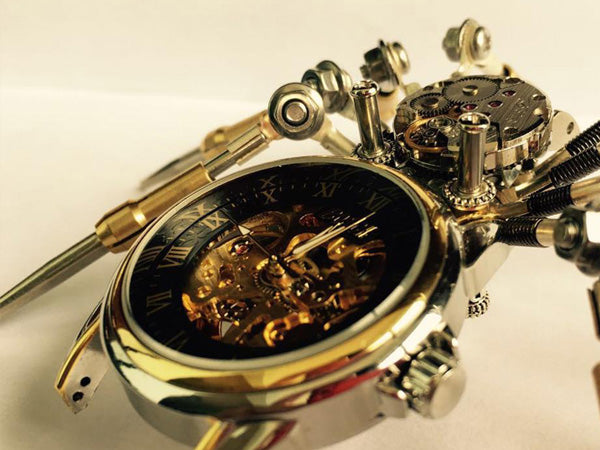
Steampunk spider kits are a unique and creative combination of steampunk design and spider motifs, presenting a 3D metal puzzle that can be built into a functioning clock. The combination of the two popular styles results in a visually stunning and intricate piece that serves both as a decorative item and a functional timepiece. The clock mechanism allows the steampunk spider to come to life, making it a great conversation piece for any room or office. These kits provide a fun and challenging building experience, combining metalwork with mechanical engineering, perfect for anyone interested in steampunk culture, puzzles, or clockmaking.
Here are some tips and tricks for building your steampunk spider DIY kit:
-
Read the instructions carefully: Before you begin building your spider, make sure to read the instructions thoroughly and understand each step of the process. Having a clear understanding of the steps will help you build the spider more efficiently and avoid any mistakes.
-
Gather all the necessary tools and materials: Make sure you have all the necessary tools and materials before you begin building the spider. This can include pliers, wire cutters, screws, nuts and bolts, paint, and any other required components.
-
Work on a clean, flat surface: When building the spider, it's important to have a clean and flat surface to work on. This will make it easier to assemble the parts and keep the spider stable while you work.
-
Take your time: Building a steampunk spider DIY kit can be a challenging but rewarding experience. Don't rush through the process, and take your time to ensure that each step is completed correctly.
-
Be creative: Steampunk design is all about combining old and new, so don't be afraid to add your own personal touch to your spider. Whether it's painting it a unique color, adding extra gears and cogs, or incorporating other steampunk elements, let your creativity shine through.
-
Test the spider's movements: Once you've finished building your spider, test its movements to make sure that everything is working correctly. If you notice any issues, make any necessary adjustments to ensure that your spider is functioning as intended.
-
Enjoy your creation: Finally, once you've completed building your spider, take a step back and admire your handiwork. Whether you choose to display it in your home or use it as part of a cosplay costume, your steampunk spider DIY kit will be a unique and eye-catching creation that you can be proud of.

Tips and tricks for customizing and personalizing your steampunk spider DIY kit:
- Add extra gears and cogs to give the spider a more mechanical look and feel.
- Experiment with different paint and finishing techniques to give the spider a unique appearance, such as patina, rust, or burnished metal effects.
- Incorporate other steampunk elements, such as clock parts, springs, and brass fittings, to enhance the design.
- Use creative lighting solutions, such as LED strips or miniature incandescent bulbs, to highlight the mechanical details of the spider.

Inspiration for incorporating your steampunk spider into a wider steampunk-themed home decor scheme:
- Display the spider as part of a larger steampunk-themed vignette, alongside other steampunk-inspired objects and decor.
- Use the spider as a focal point in a room, such as a living room, office, or bedroom.
- Create a steampunk-themed gallery wall, featuring multiple steampunk spiders and other decorative pieces.
- Incorporate the spider into your steampunk cosplay costume, either as a prop or as part of a larger costume ensemble.

How to maintain and care for your steampunk spider over time:
- Regularly dust and clean the spider to prevent build-up of debris and grime.
- Store the spider in a dry, temperature-controlled environment to prevent rust or corrosion.
- Handle the spider gently and carefully to prevent damage to the mechanical parts.
- In the event of any mechanical issues, consult the manufacturer or a specialist repair service for advice.

