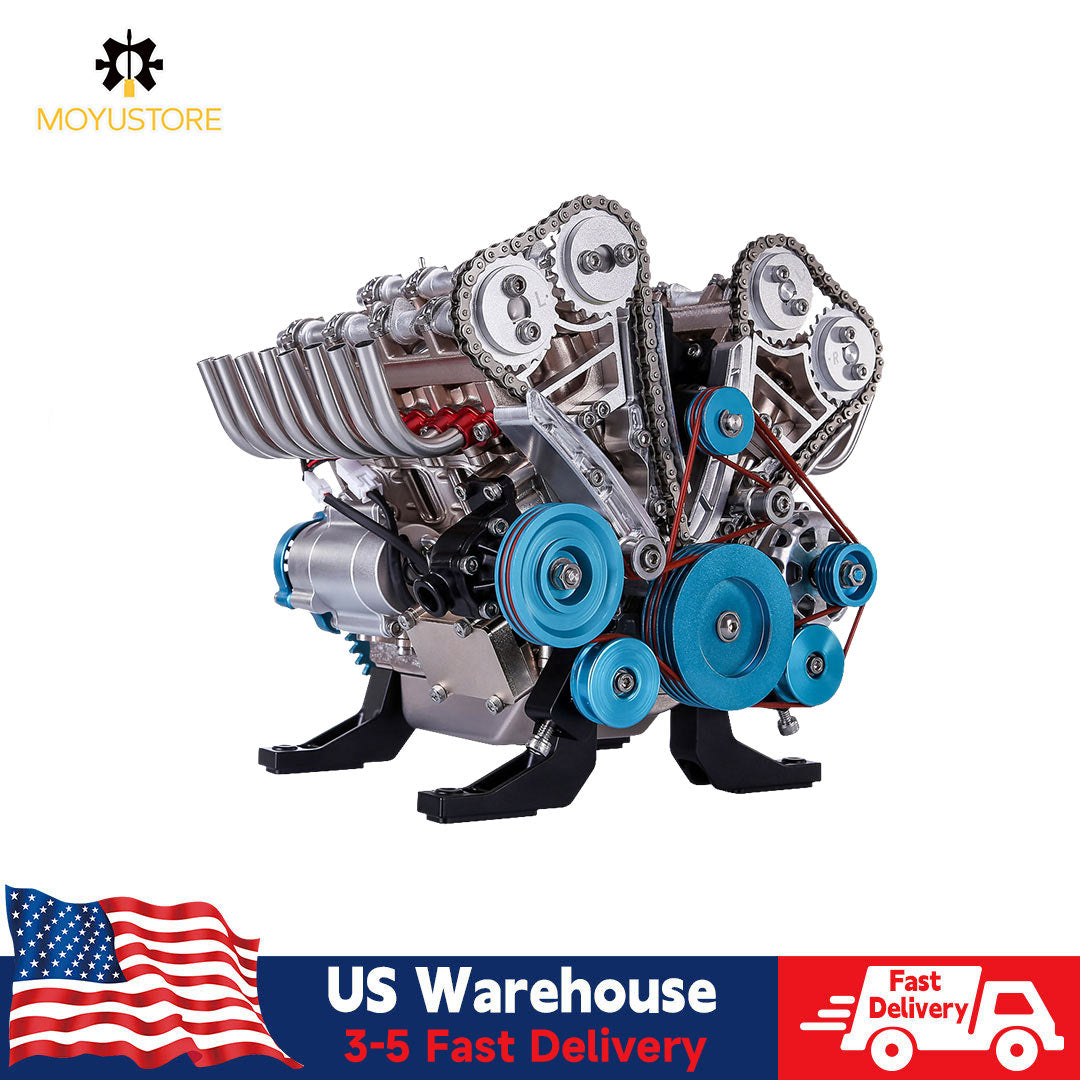
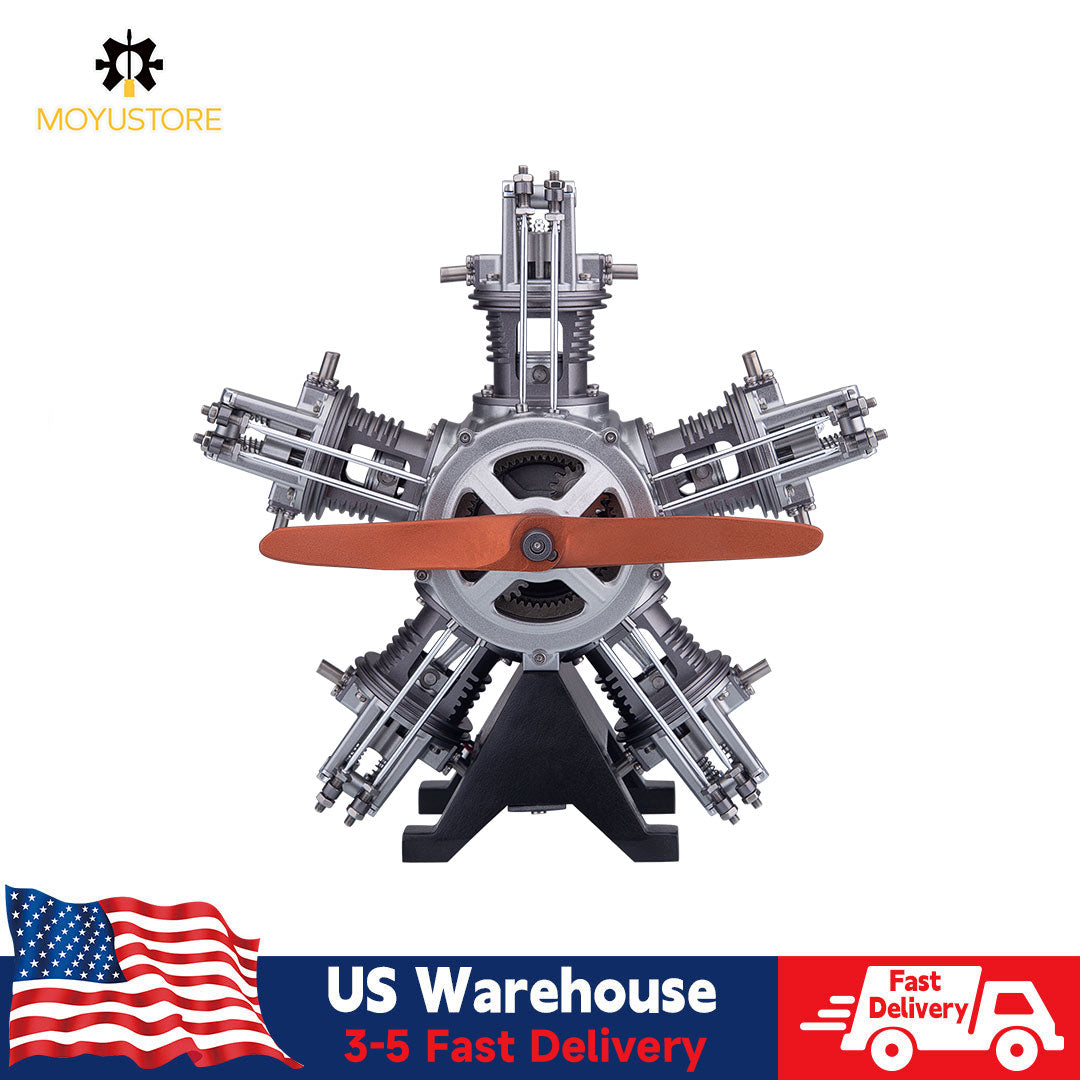
In this video, I'll be reviewing the Moyustore 5-cylinder radial engine. It's a real working radial engine with a moving prop and battery-powered functionality. The kit is made by a company called Teching and comes in sturdy Tin Can packaging, which I find pretty cool. The back of the can provide basic information about the product. I'd like to thank Mo You Store for sending me this kit to review, and I'll include a link to purchase it in the video description.
Now let's see what's inside the package. Opening the Tin Can, I find it well-packed. The first item is an instruction manual, which we'll explore later. The parts are organized in styrofoam cutouts, labeled as small parts and accessories. At the bottom of the can, there's nothing underneath, so no need to remove it.
In addition to the radial engine kit, I also want to share something related to my channel, which focuses on military vehicles and models. I have a pre-built 1:32 scale Dauntless model aircraft with a radial engine. While it has nine cylinders compared to the kit's five, it's a great example of World War II aircraft with radial engines.
Now, let's proceed with the assembly. We'll start by assembling the Pistons with the connecting rods, labeled as parts 16 and 20 in the manual. These metal parts feel of good quality, and I'll lubricate the designated holes with PTFE oil. Following the instructions, we attach the connecting rod and snap on the small clip to secure it. We repeat this process for all five Pistons.
To assemble the Pistons fully, we need the snap rings provided in a small case labeled "circlips." Installing the snap rings on each piston is straightforward, with a small notch guiding the process. After completing all the Pistons, they move freely, and an extra snap ring is included, which is appreciated.
Moving on, we assemble the Pistons and connecting rods in the crankcase. We insert the bearing and crankshaft, securing them in place. Next, we work on the star link block, attaching it with another bearing and inserting it onto the crankshaft. The linkage is then installed, connecting the Pistons to the star link block. The Pistons move smoothly, indicating good assembly.
Now, we move to the rear cover assembly. Lubricating a designated section, we install the gear sleeve, gear, and other components, securing them with screws. We continue with the motor cover assembly, attaching the motor and other parts accordingly.
Next, we focus on the cam and cam gear assembly, aligning and securing them with screws. Gears are then installed, including gears number 23, 25, and 22, along with the corresponding gear shafts and bearings. Proper lubrication is crucial at this stage, especially for the motor gear.
Finally, we reach the exciting part of installing the prop. With the necessary parts at hand, we assemble the propeller, securing it with screws and ensuring it rotates smoothly. The engine is now complete and ready for testing.
Overall, the assembly process was well-guided by the instruction manual. The kit's metal parts feel sturdy and well-made. Although my kit didn't come with lubrication oil as specified, I used PTFE oil as a suitable substitute. The completed radial engine looks impressive, and I'm excited to test its functionality.
Drawer Title
- Choosing a selection results in a full page refresh.

